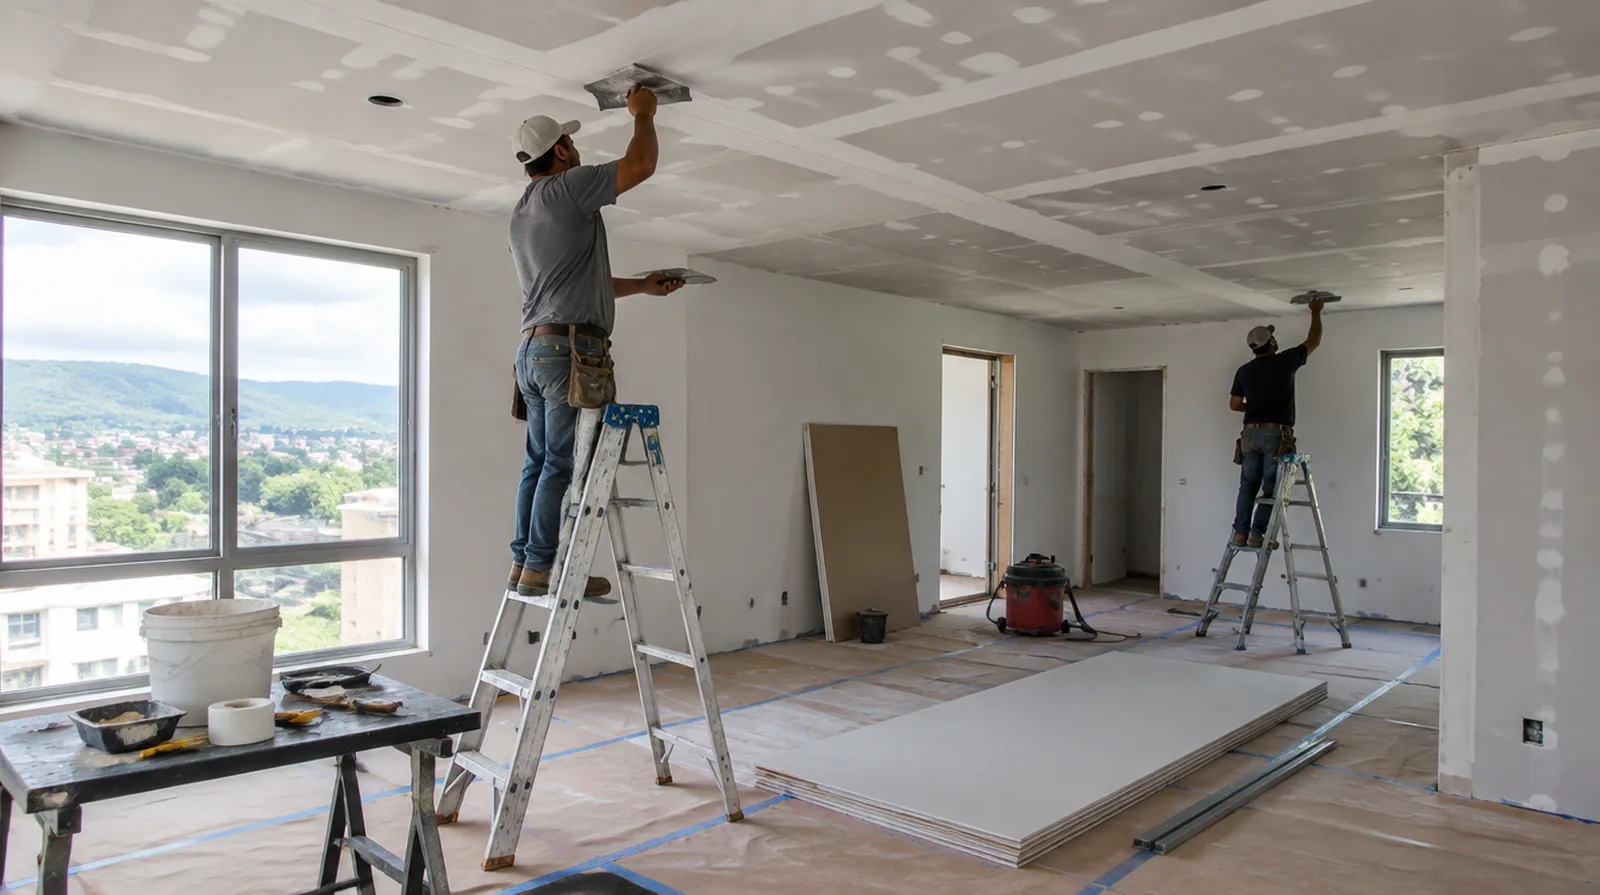
Evaluate sagging sections
A sagging ceiling needs its supports, fixings and damaged materials assessed, not simply smoothed. Keep people away from an unstable area while the appropriate professional evaluates it. When the wall has strong reflected light, look at the full plane instead of judging only the narrow strip immediately beside the patch.
Treat the joints overhead
Reinforce the ceiling patch joints and taper the finishing layers well beyond their edges. Because windows often light ceilings obliquely, a narrow raised blend can remain conspicuous. If the proposal requires return visits, identify the purpose of each stage and the intervals during which finishing material needs to remain undisturbed.
Separate fixtures from board work
Handling lights, sprinkler fittings and air grilles could call for appropriate trades and building coordination. Clarify who disconnects and reinstalls anything that interferes with access to the damaged area. For a limited patch requiring substantial setup, assess the complete package of access and protection rather than relating cost only to the opening size.
Discuss texture expectations
A smooth ceiling and a textured ceiling need differing finishing plans around the repaired section. An agreed sample can show the likely limits of a local texture blend before the full repair proceeds. Where flooring is staying in place, agree on protective coverings and check that tools and material handling will not damage the noticeable finish.
Add reliable backing
A ceiling patch needs fastening support on its edges instead of relying on compound to carry its weight. Matching the thickness of the board helps avoid a visible step between old and new surfaces. When reviewing the finished work, use the agreed lighting and natural room viewpoints so the assessment reflects the intended use of the space.
Plan overhead access
Ceiling height and furniture layout influence the platform and protection needed for safe working access. Delicate floors, bulky furniture and fittings may add more setup work than the patch dimensions suggest. Where a future fixture will be installed, coordinate any required backing while the cavity is accessible rather than reopening the completed wall.
Set the repainting scope
A small fresh white patch can stand out against an older ceiling even when the surface is level. Painting to a natural boundary may be preferable to touching up only the repair. If a household member is sensitive to dust, discuss containment and cleaning expectations before choosing how to stage the space work.
Identify the existing surface
A ceiling may contain gypsum board, plaster or several layers from earlier renovations. The repair method should match the actual construction instead of assuming every white surface is drywall. When painting is outside the proposal, describe the remaining decorative preparation clearly so another contractor can price that stage accurately.
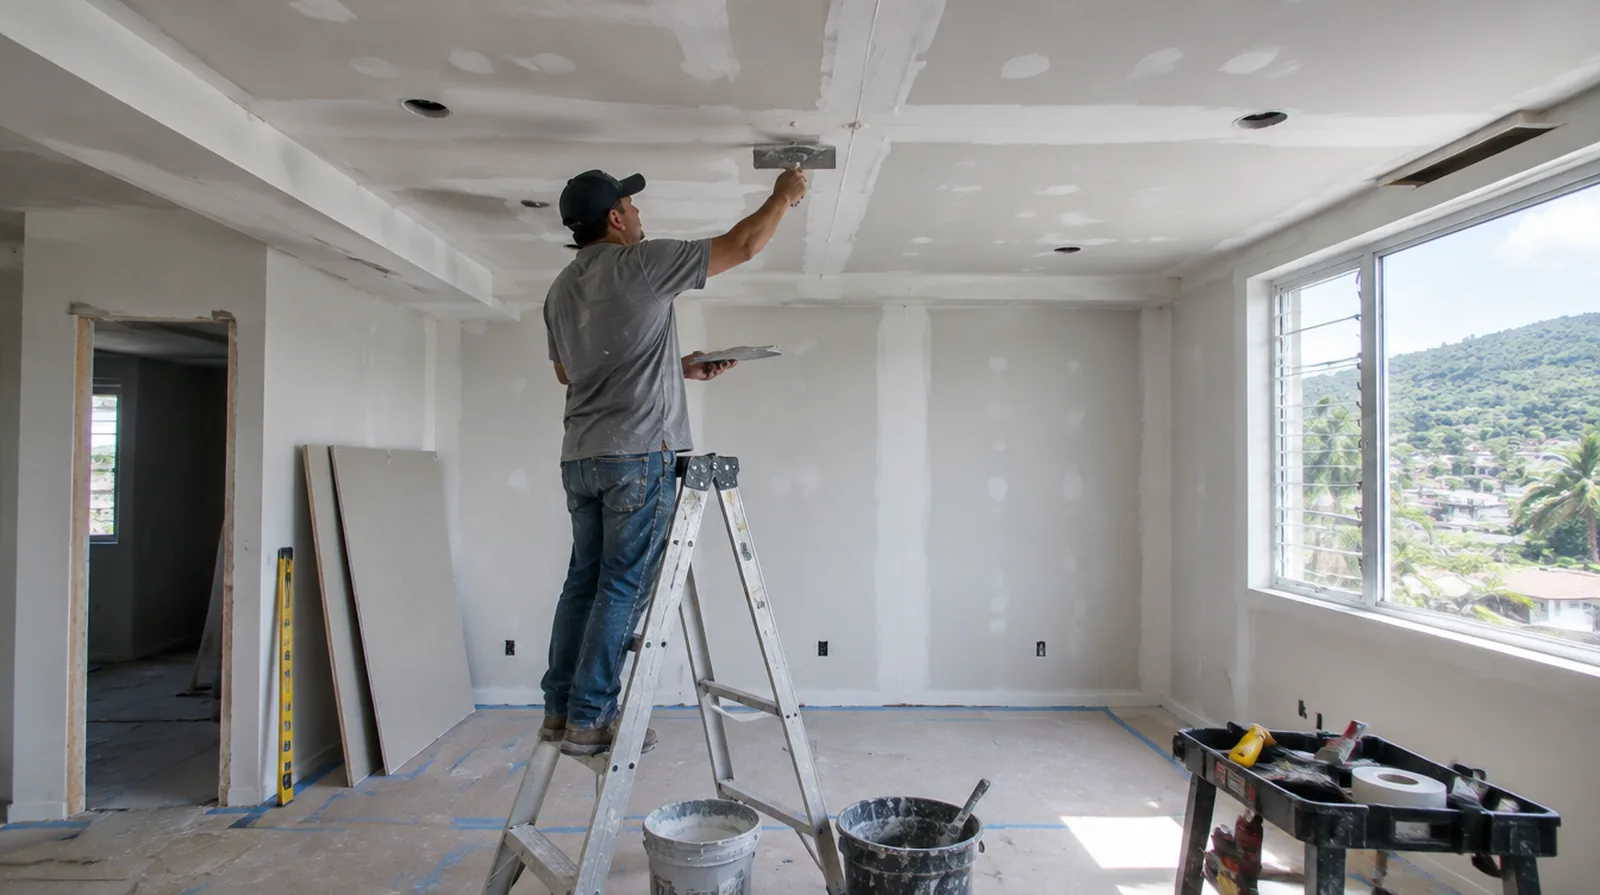
Review the room after drying
Once the coats are dry, view the ceiling from normal room positions and near its principal windows. Identify outstanding paint preparation while protection and access are still available. If the space will remain occupied, identify a practical separation between the work area and the space that still needs daily access.
Cut back to sound material
A reliable replacement cannot depend on board that has lost strength through water exposure. Cut to a stable boundary that also permits secure fixing and an effective finishing blend. If the proposal requires return visits, identify the purpose of each stage and the intervals during which finishing material needs to remain undisturbed.
Project context in Caguas
Replacement board should close a cavity only after the relevant underlying conditions have been addressed. Describe any recurring discoloration or changes around joints instead of treating the visible mark as the entire problem.
Scope questions before finishing
Where existing floors will remain, specify protective measures and review the path used by panels, equipment and finishing tools.
If a household member is sensitive to dust, discuss containment and cleaning expectations before choosing how to stage the interior work.
If the completion date matters most, allow for intervals between coats as well as active labor rather than assuming the entire process happens continuously.
If the project is part of a larger remodel, settle the sequence with flooring, trim and cabinet work before setting a final finishing date.
When the history of a repair is uncertain, note when it became noticeable and whether its appearance has altered across distinct seasons.
When a wall has repeated defects, keep a record of earlier repair attempts so a new assessment does not simply repeat an unsuccessful approach.
If access passes through a shared space, arrange protection and a delivery route that do not unnecessarily obstruct other occupants.
At a surface receiving strong window light, review a dried trial from the side in addition to the normal straight view of the wall.
Where flooring is staying in place, agree on protective coverings and check that tools and material handling will not damage the noticeable finish.
Where the quoted work stops before painting, request a clear description of what remains so the next decorating stage can be priced realistically.
Where the wall surface meets fixed furniture, clarify whether removal is included or whether the finish will terminate at the accessible edge.
When photographs are used for an initial discussion, include a wide room view as well as a close view so scale and surrounding finishes are understandable.
Explore the Caguas drywall overview for related options, or read the project planning information before arranging the next stage.
More planning details for Caguas
For Caguas refurbishment work, a wall beside a cooled interior space is worth assessing with its moisture history in mind. Warm humid weather can affect both material storage and the interval between finishing coats, so leave those practical questions in the schedule. Work out the panel delivery route and the clearance needed around furnishings before the room is protected.