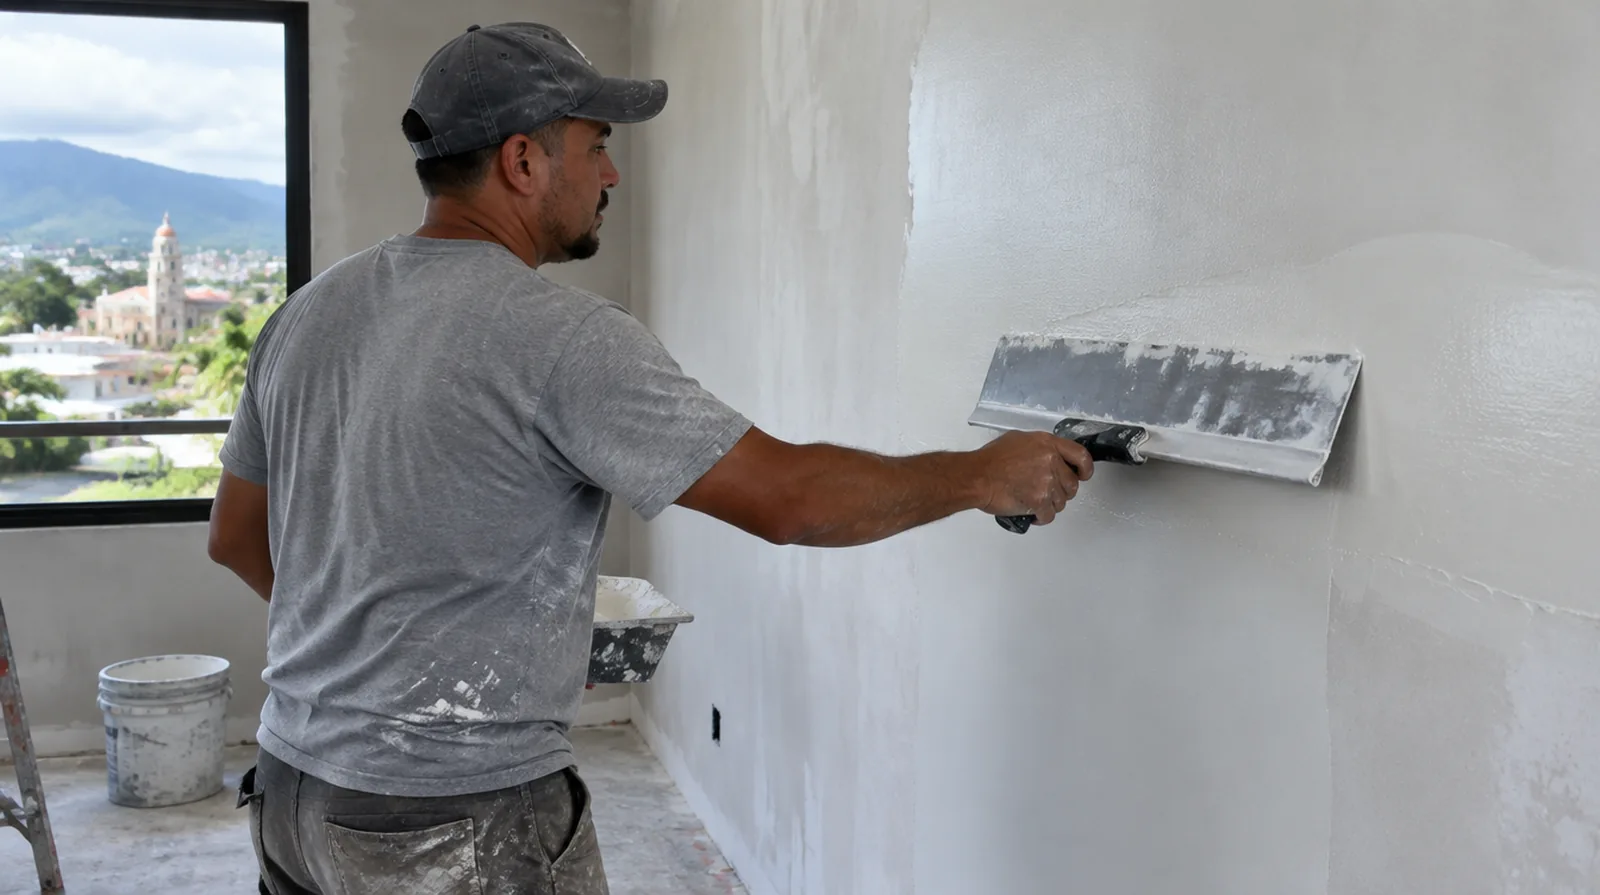
Clean and prepare the wall
Dust, grease and incompatible residues can interfere with adhesion. Preparation may include cleaning and a suitable bonding treatment based on the condition of the current surface. If a household member is sensitive to dust, discuss containment and cleaning expectations before choosing how to stage the interior work.
Define the smoothing target
Flattening a light texture is distinct from correcting deep waves across an entire wall. The scope should describe what the skim is expected to improve and what remains outside that finish treatment. When a quote includes multiple visits, ask what happens during each stage and when the room needs to remain undisturbed between coats.
Apply controlled thin layers
Build a refined surface with controlled applications rather than a heavy unsupported deposit. More than one pass may be necessary where the existing texture creates deeper low points. If the problem developed after another renovation, explain which nearby materials or building systems changed before the damage became visible.
Inspect using side light
Check the dried surface with light crossing it as well as light facing it directly. The review should reflect the conditions that will matter when the space returns to everyday use. For a surface that will receive wall covering, share the product requirements early so the finishing stage supports the planned decorative treatment.
Prime before decoration
Fresh skim compound needs an appropriate primer before the finish paint is applied. Priming equalizes absorption and can help identify small corrections before the last paint coat is applied. Where existing floors will remain, specify protective measures and review the path used by panels, equipment and finishing tools.
Let each coat dry
Allow each application to become ready for the next under the conditions within the room actually maintained. A rushed next coat can drag or disturb material that has not set up sufficiently. If there is a fixed move in date, reserve sufficient time for the coating stages after drywall work instead of counting only the installation period.
Check underlying movement
Surface refinement cannot stabilize framing movement or repair board that no longer holds securely. Assess recurring cracks and complete necessary reinforcement before covering the area with a skim. When reviewing the finished work, use the agreed lighting and natural room viewpoints so the assessment reflects the intended use of the space.
Refine with minimal sanding
Good application reduces the amount of sanding needed to achieve a uniform finish. Even so, plan dust protection and extraction for the fine particles produced by broad surface work. Where a future fixture will be installed, coordinate any required backing while the cavity is accessible instead of reopening the completed wall.
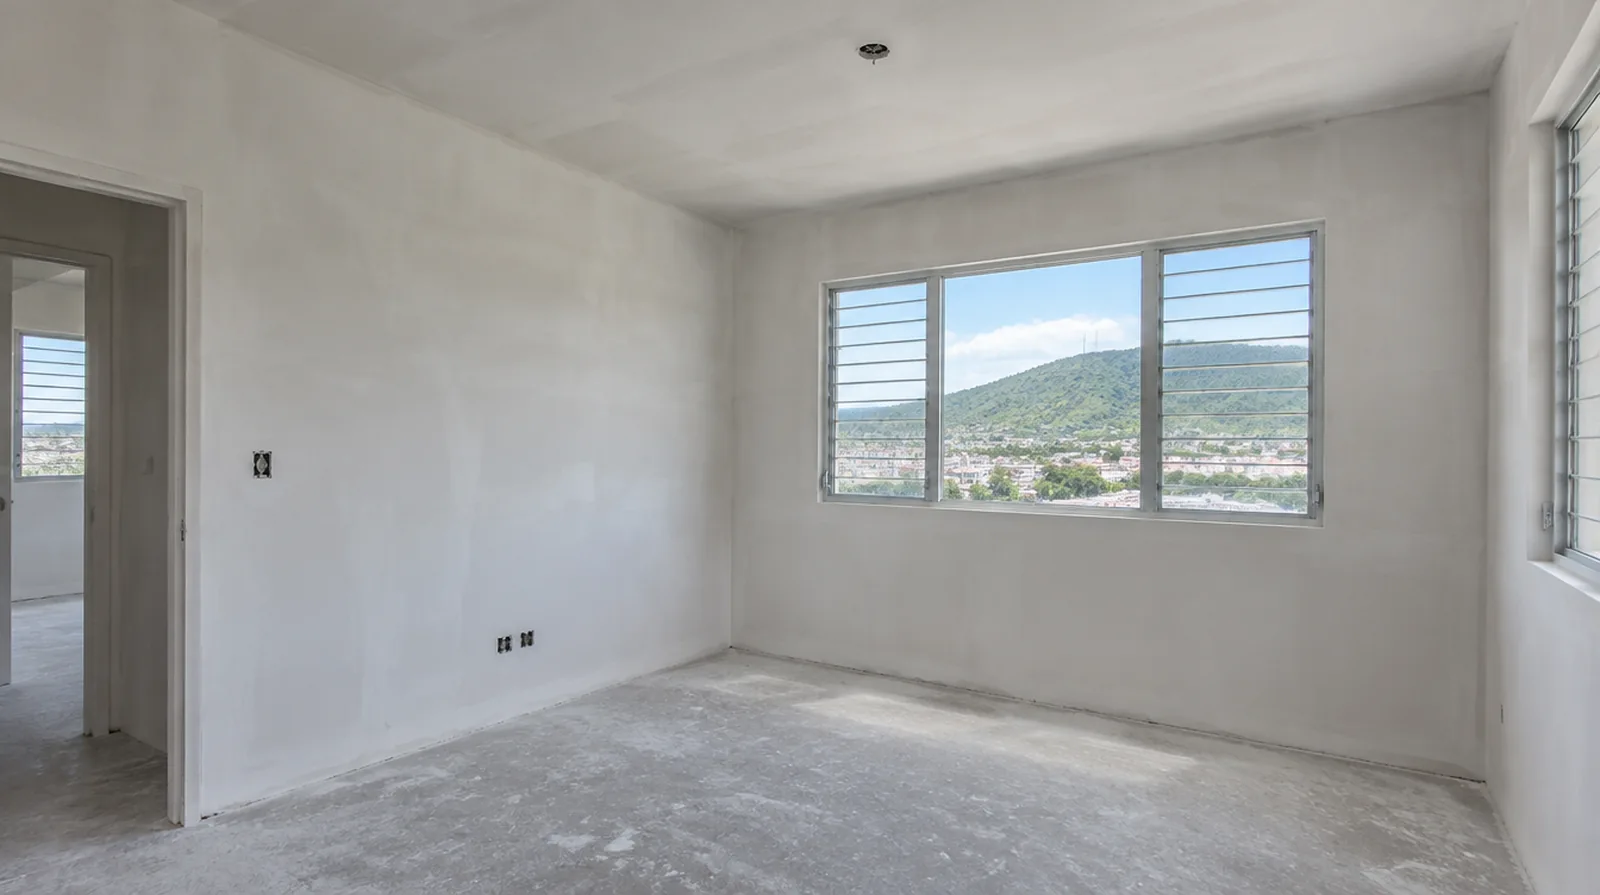
Choose paint with the finish
Higher sheen coatings can emphasize small variations that a matte finish makes less obvious. Connect the paint selection to the agreed preparation standard before deciding how extensive the skim work should be. Where a neat final edge matters, agree whether the finish ends against existing trim or whether that trim will be removed and replaced.
Work around trim carefully
Baseboards, frames and fixed fittings create edges that need neat transitions and protection. Decide whether trim removal is needed or whether a neat stop against it is acceptable. Where a finished perimeter is prominent, decide whether trim stays in position or is removed before agreeing how the new surface meets that edge.
Project context in Caguas
Warm humid weather can affect both material storage and the interval between finishing coats, so leave those practical questions in the schedule. Replacement board should close a cavity only after the relevant underlying conditions have been addressed.
Scope questions before finishing
For a tightly furnished room, plan temporary storage and the minimum working clearance before material is carried into the property.
For work spread across distinct planes, record their dimensions separately and describe the boundary of the treatment on each surface.
While a removed panel exposes the wall cavity, complete the necessary review of concealed work before replacement board closes the opening.
For a project with several trades, agree which inspection or handover point must happen before the next person starts work.
If scheduling is the main concern, separate hands on labor from drying intervals instead of treating every visit as a full day of active work.
In a room with little free floor space, identify temporary storage for belongings and establish sufficient clearance for the work before delivery.
When the same defect has returned, share information about previous repair methods so the next assessment can consider why they did not last.
When more damage could be hidden, ask how any added scope will be documented before extra material is removed or replaced.
For a project involving a building manager, confirm access hours and protection requirements before promising a start date or a short completion window.
When the protected room includes a doorway, check the clearance for panel movement as well as the amount of space available for finishing tools.
For a surface that will receive wall covering, share the product requirements early so the finishing stage supports the planned decorative treatment.
For a limited patch requiring substantial setup, assess the complete package of access and protection rather than relating cost only to the opening size.
Explore the Caguas drywall overview for related options, or read the project planning information before arranging the next stage.
More planning details for Caguas
For Caguas refurbishment work, a wall beside a cooled interior space is worth assessing with its moisture history in mind. Describe any recurring discoloration or changes around joints instead of treating the visible mark as the entire problem. Work out the panel delivery route and the clearance needed around furnishings before the room is protected.