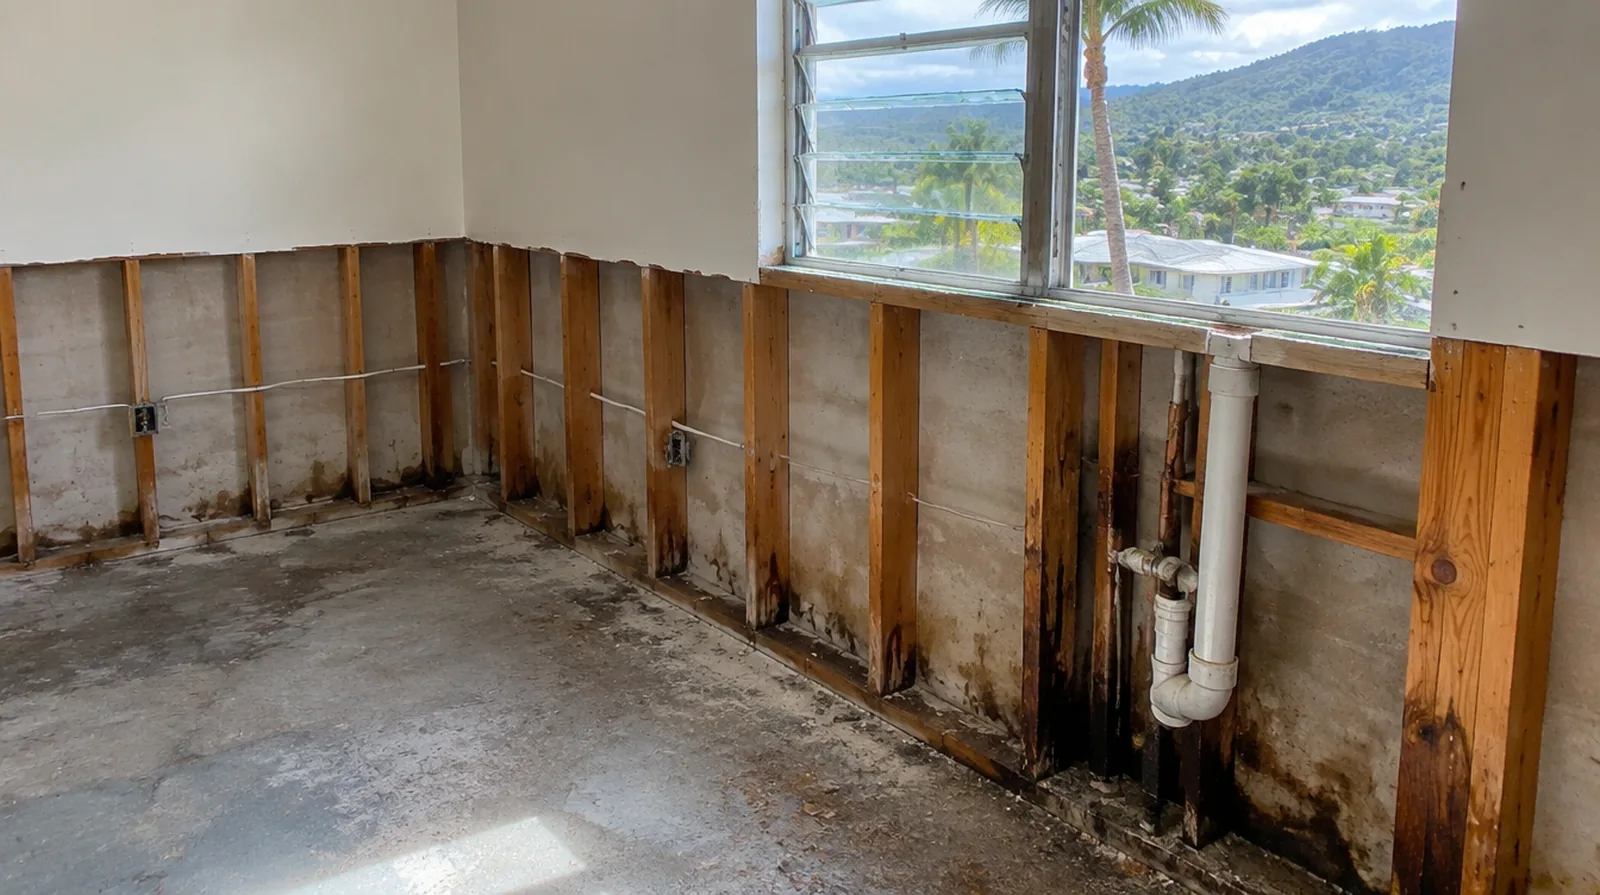
Finish after moisture control
Tape and finishing compound belong on stable dry material rather than a damp or deteriorating substrate. Give each finishing layer time to dry rather than trapping dampness under additional material. When the decorative coating has been selected, tell the finisher its intended sheen and color while the preparation of the surface standard is still being agreed.
Record the completed scope
Keep notes on the source correction, removed materials and any drying verification supplied by other professionals. That documentation distinguishes the completed drywall scope from continuing upkeep and responsibilities elsewhere in the property. Where occupants have dust sensitivity concerns, agree containment and cleaning measures before settling the way the space will be staged.
Assess material condition
Staining, swelling, softened edges and loose paper help determine which panels may need removal. The affected material behind the finish may extend past the stain seen from inside the room. For a repair that crosses several surfaces, measure the affected planes separately so the estimate can explain where each finishing treatment starts and stops.
Verify drying readiness
A dry looking outer face does not prove that concealed framing and insulation are ready to enclose. The project should identify who verifies the cavity is ready before replacement panels close it again. When reviewing the finished work, use the agreed lighting and natural room viewpoints so the assessment reflects the intended use of the space.
Keep contamination separate
Flood water and suspected microbial growth require evaluation beyond ordinary cosmetic patching. Ask an appropriate remediation professional about containment and material handling before drywall work is scheduled. If the proposal requires return visits, identify the purpose of each stage and the intervals during which finishing material needs to remain undisturbed.
Resolve the water source
A leak or condensation problem must be addressed before replacing the affected drywall. Surface repairs alone cannot prevent damage from returning when water is still reaching the assembly. For a tightly furnished room, plan temporary storage and the minimum working clearance before material is carried into the property.
Define selective removal
Removing a controlled section provides access for assessment while preserving material that remains sound. Choose its edge to allow supported replacement and a surface transition that can be blended effectively. For a tightly furnished room, plan temporary storage and the minimum working clearance before material is carried into the property.
Rebuild supported edges
The new board section must connect firmly to suitable backing or sound framing. Stable edges reduce avoidable stress at the boundary between the retained face and the replacement. When comparing competing estimates, make sure their protection, surface finish and disposal allowances describe equivalent work before comparing the final prices.
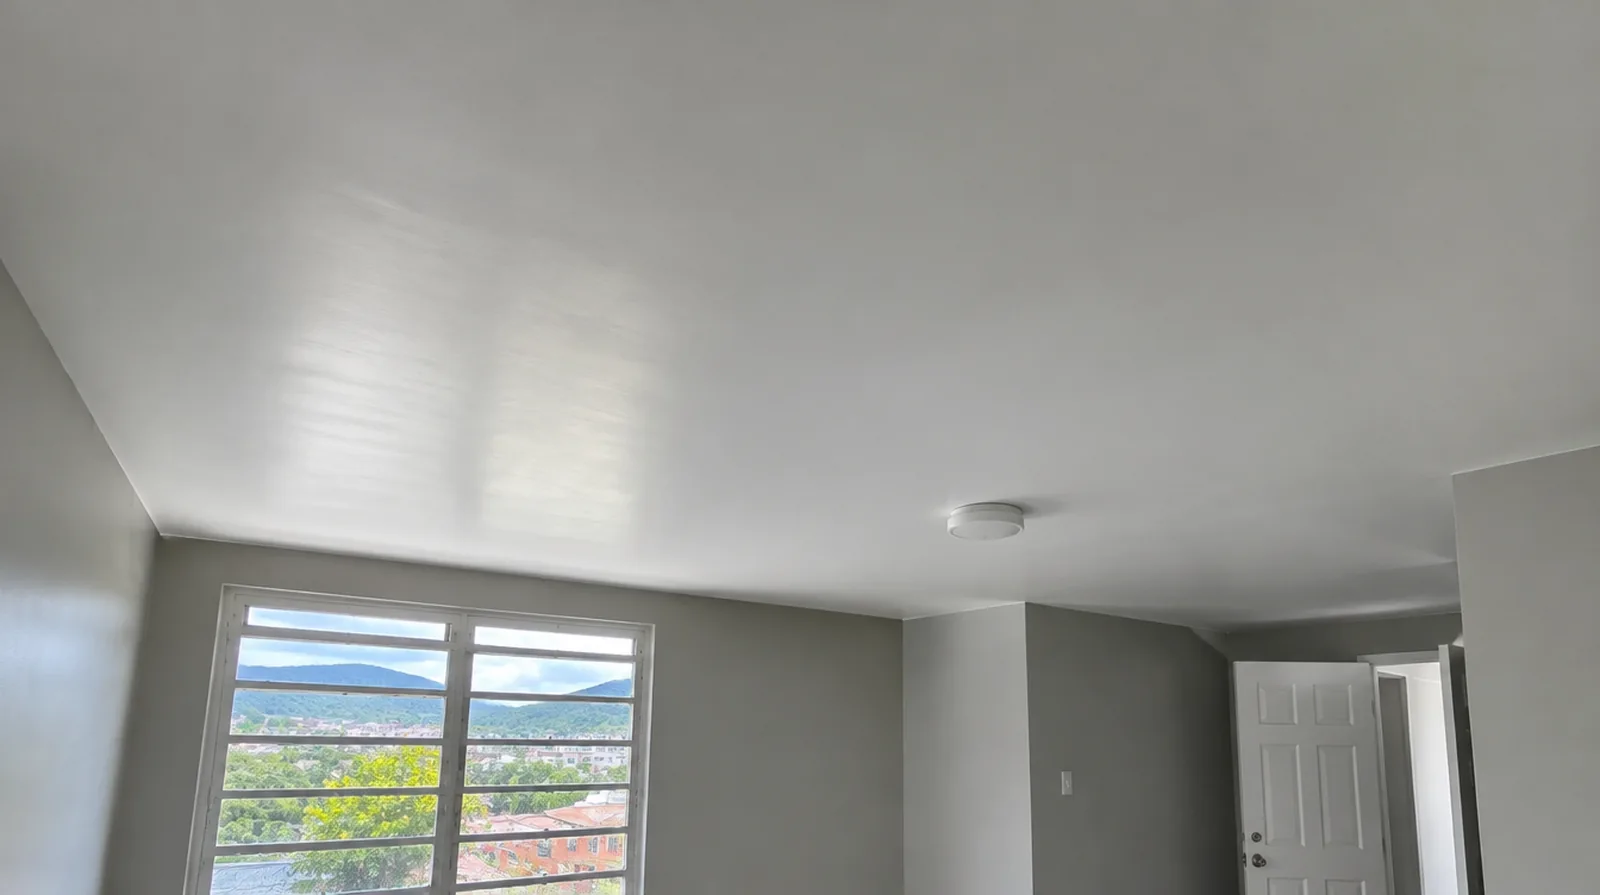
Inspect concealed components
Other components revealed by removal might need attention that is not included in panel replacement. Those decisions should be resolved before the drywall portion of the repair moves forward. Where light reflects along the wall, inspect the complete plane instead of limiting the review to the edge immediately next to the repaired section.
Agree on decorative boundaries
Repairing the damaged board and restoring a uniform painted finish are related but distinct tasks. A ceiling or wall repaint may have to extend beyond the removed section to look consistent. Where light reflects along the wall surface, inspect the complete plane instead of limiting the review to the edge immediately next to the repaired section.
Project context in Caguas
Warm humid weather can affect both material storage and the interval between finishing coats, so leave those practical questions in the schedule. Describe any recurring discoloration or changes around joints instead of treating the visible mark as the entire problem.
Scope questions before finishing
Where the wall meets fixed furniture, clarify whether removal is included or whether the finish will terminate at the accessible edge.
Before comparing two proposals, check that both include the same protection, finishing and cleanup boundaries instead of comparing totals alone.
For a room with restricted airflow, plan drying conditions alongside dust protection and the comfort of people occupying neighboring spaces.
At a ceiling or wall containing fittings, assign removal and reinstatement duties for the affected devices before repair access is needed.
If the final paint is already chosen, share its sheen and color early because those choices influence how surface preparation is judged.
If the wall work belongs to a broader renovation, coordinate its order with flooring, cabinetry and trim rather than scheduling finishing in isolation.
If the ceiling or wall includes fittings, identify the person responsible for removing and reinstalling each item before the work begins.
For a room that stays in use, set a workable boundary around construction while retaining the access people need for normal daily activities.
Where light reflects along the wall, inspect the complete plane instead of limiting the review to the edge immediately next to the repaired section.
When the same defect has returned, share information about previous repair methods so the next assessment can consider why they did not last.
If the surface condition is uncertain, allow for an assessment that can distinguish stable material from layers that should never be covered.
Where occupants have dust sensitivity concerns, agree containment and cleaning measures before settling the way the space will be staged.
Explore the Caguas drywall overview for related options, or read the project planning information before arranging the next stage.
More planning details for Caguas
For Caguas refurbishment work, a wall beside a cooled interior space is worth assessing with its moisture history in mind. Replacement board should close a cavity only after the relevant underlying conditions have been addressed. Work out the panel delivery route and the clearance needed around furnishings before the room is protected.