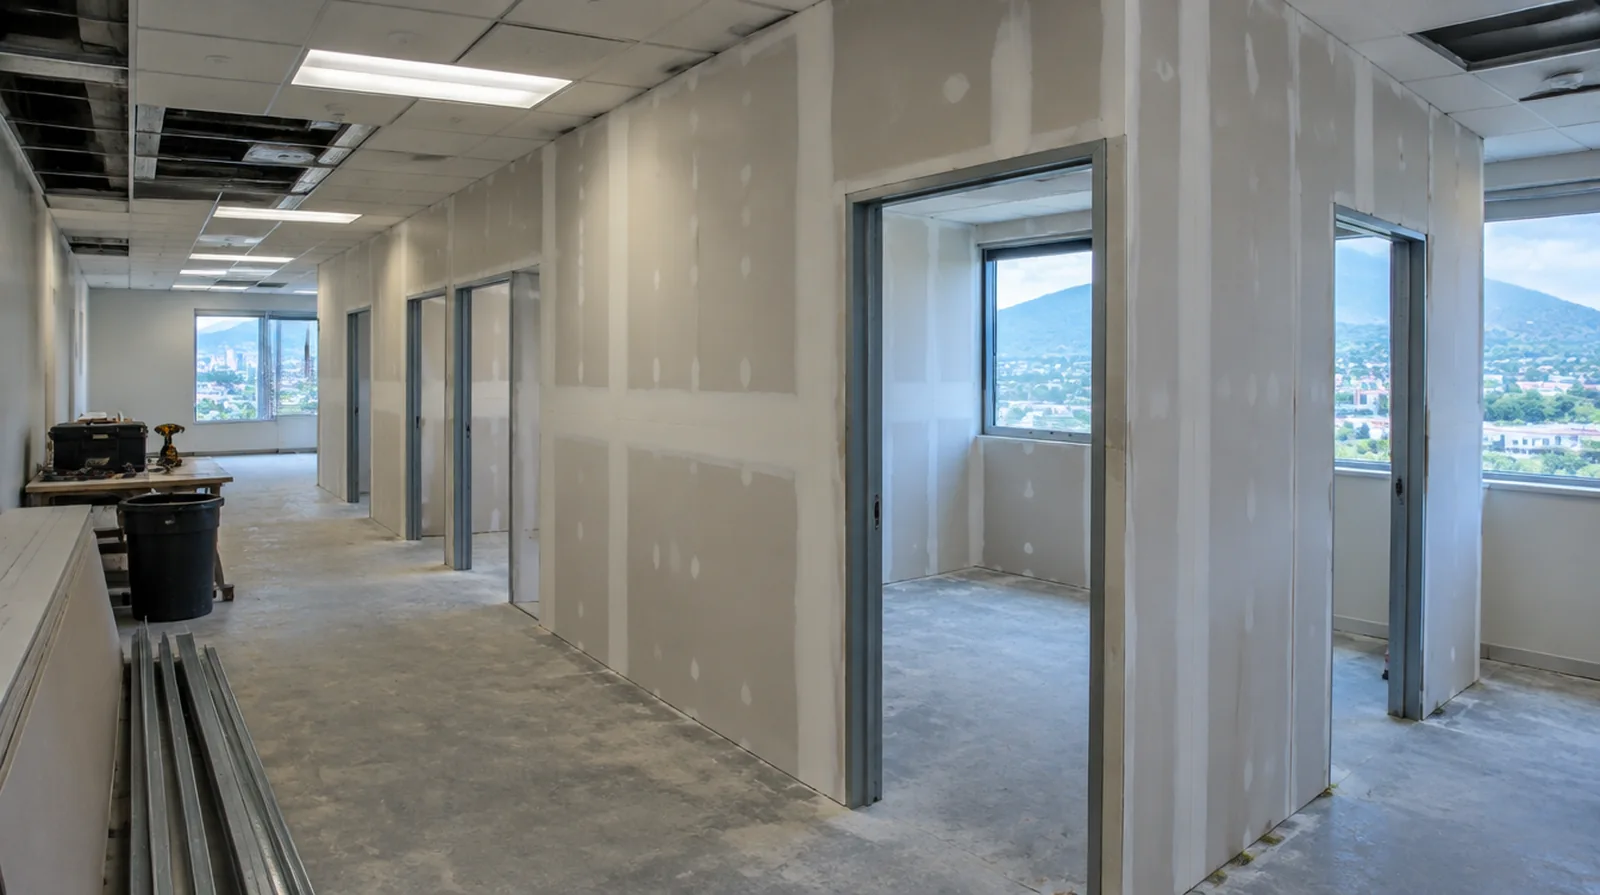
Manage occupied areas
Dust protection and a defined work boundary are important when nearby rooms remain in use. Set noise and daily cleanup expectations in relation to the activities that will continue nearby. When photographs are used for an initial discussion, include a wide room view as well as a close view so scale and surrounding finishes are understandable.
Lay out doors and glazing
Partition openings need accurate dimensions and support suited to the specified frames. Coordination with door and glazing installers helps keep the finished lines consistent. Where a finished perimeter is prominent, decide whether trim stays in position or is removed before agreeing how the new surface meets that edge.
Plan material movement
Long corridors, shared lifts and limited storage can affect sheet sizes and delivery timing. The material handling plan should protect common spaces as well as the interior where installation occurs. If access passes through a shared space, arrange protection and a delivery route that do not unnecessarily obstruct other occupants.
Coordinate ceiling junctions
The top of a partition needs an appropriate connection to the building and its ceiling arrangement. Respect required movement details and retain access to services that must remain maintainable. For an initial assessment from pictures, provide an overall room photograph and a detailed view of the defect so both context and scale are apparent.
Define the tenant scope
Establish the partition layout and intended room uses before measuring a tenant improvement. Separate owner responsibilities from tenant responsibilities so the proposal covers a defined package of work. When painting is outside the proposal, describe the remaining decorative preparation clearly so another contractor can price that stage accurately.
Close out with clear limits
At handover, identify which items belong to drywall and which remain with the decorating or other trades. Document any remaining items and the agreed handover condition before the project space is released. Where a surface has been painted many times, consider whether differences in texture or sheen will require a wider decorative treatment.
Coordinate approvals
Delivery times and inspection stages may depend on local requirements as well as building management. Identify which consents and project information the client or design team must provide. If a household member is sensitive to dust, discuss containment and cleaning expectations before choosing how to stage the space work.
Schedule inspection stages
Some checks have to happen before board installation while others occur after joints are complete. Give the responsible reviewer an opportunity to check before installation or finishing conceals the detail. In a room with little free floor space, identify temporary storage for belongings and establish sufficient clearance for the work before delivery.
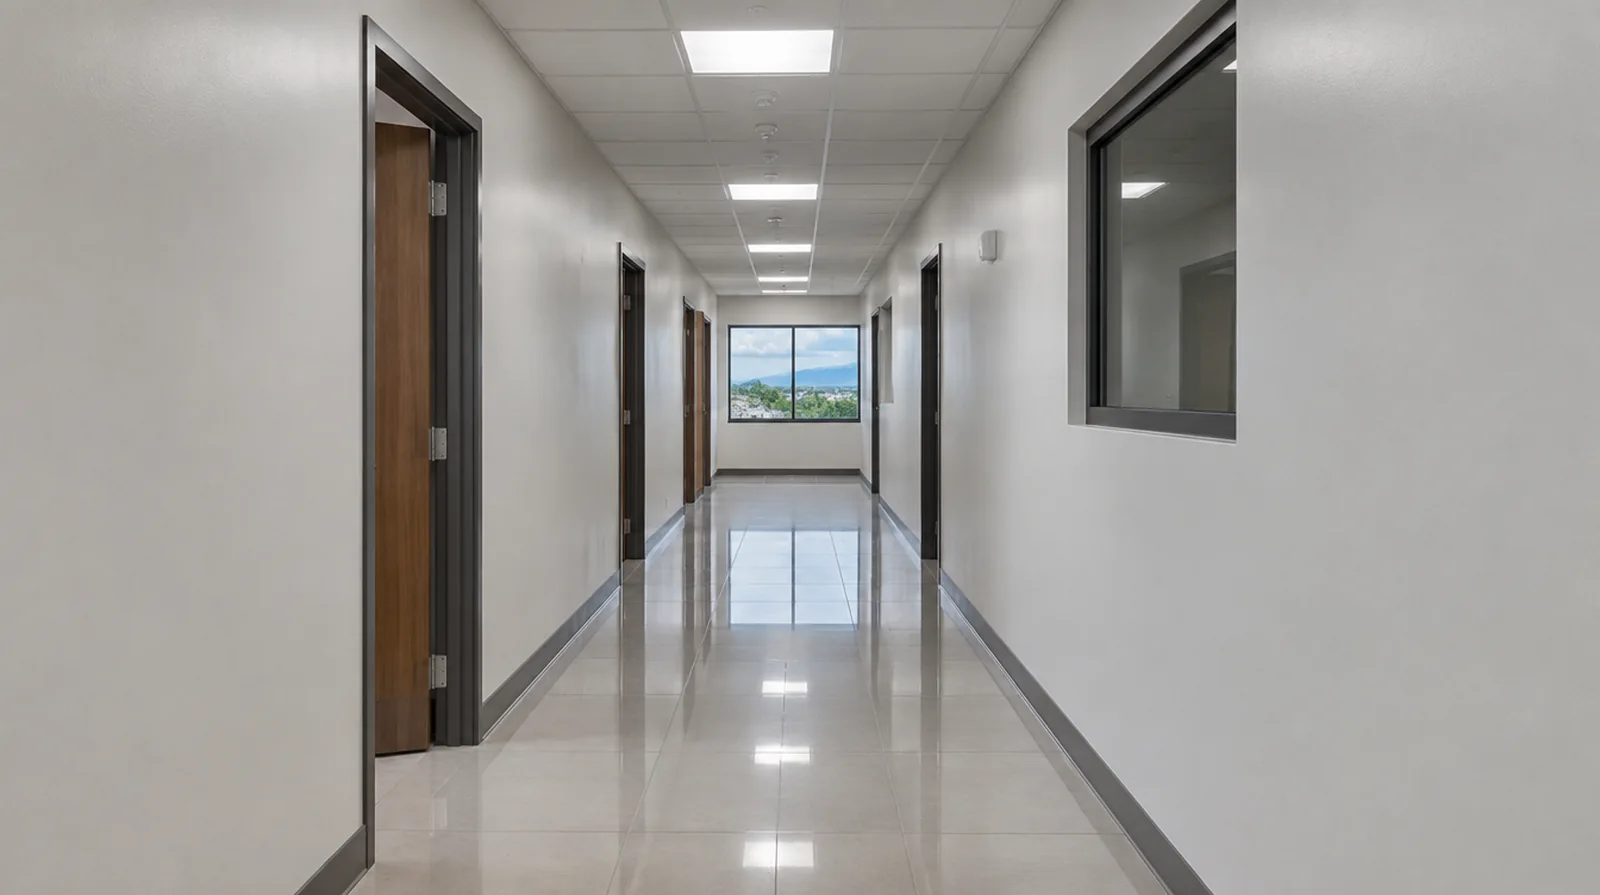
Sequence concealed trades
Allow concealed services to be installed and checked before enclosing the partitions. Coordinate a readiness milestone with the other trades to reduce later openings through newly finished walls. When the same defect has returned, share information about previous repair methods so the next assessment can consider why they did not last.
Specify the visible finish
A meeting room under strong lighting could need a distinct finish level than a storage room. Agree on appearance requirements before final coats rather than resolving them after painting. If a distinct painter completes decoration, agree the condition of the handed over surface and assign responsibility for small final corrections.
Project context in Caguas
Warm humid weather can affect both material storage and the interval between finishing coats, so leave those practical questions in the schedule. For Caguas refurbishment work, a wall beside a cooled interior space is worth assessing with its moisture history in mind.
Scope questions before finishing
Where occupants have dust sensitivity concerns, agree containment and cleaning measures before settling the way the interior will be staged.
For a project involving a building manager, confirm access hours and protection requirements before promising a start date or a short completion window.
Where light reflects along the wall, inspect the complete plane instead of limiting the review to the edge immediately next to the repaired section.
For a room that stays in use, set a workable boundary around construction while retaining the access people need for normal daily activities.
If the ceiling or wall includes fittings, identify the person responsible for removing and reinstalling each item before the work begins.
For a surface that will receive wall covering, share the product requirements early so the finishing stage supports the planned decorative treatment.
When the work area includes a doorway, check the clearance for panel movement as well as the amount of space available for finishing tools.
For a planned new wall mounted fixture, resolve its backing requirements while the cavity remains open instead of cutting into completed drywall later.
If the wall surface work belongs to a broader renovation, coordinate its order with flooring, cabinetry and trim rather than scheduling finishing in isolation.
If occupancy must resume on a certain day, include the later primer and paint stages in the timetable as well as drywall installation and finishing.
For a surface carrying numerous paint layers, discuss whether differences in the retained profile or sheen justify decorating a broader area.
If a household member is sensitive to dust, discuss containment and cleaning expectations before choosing how to stage the space work.
Explore the Caguas drywall overview for related options, or read the project planning information before arranging the next stage.
More planning details for Caguas
Describe any recurring discoloration or changes around joints instead of treating the visible mark as the entire problem. Replacement board should close a cavity only after the relevant underlying conditions have been addressed. Work out the panel delivery route and the clearance needed around furnishings before the room is protected.