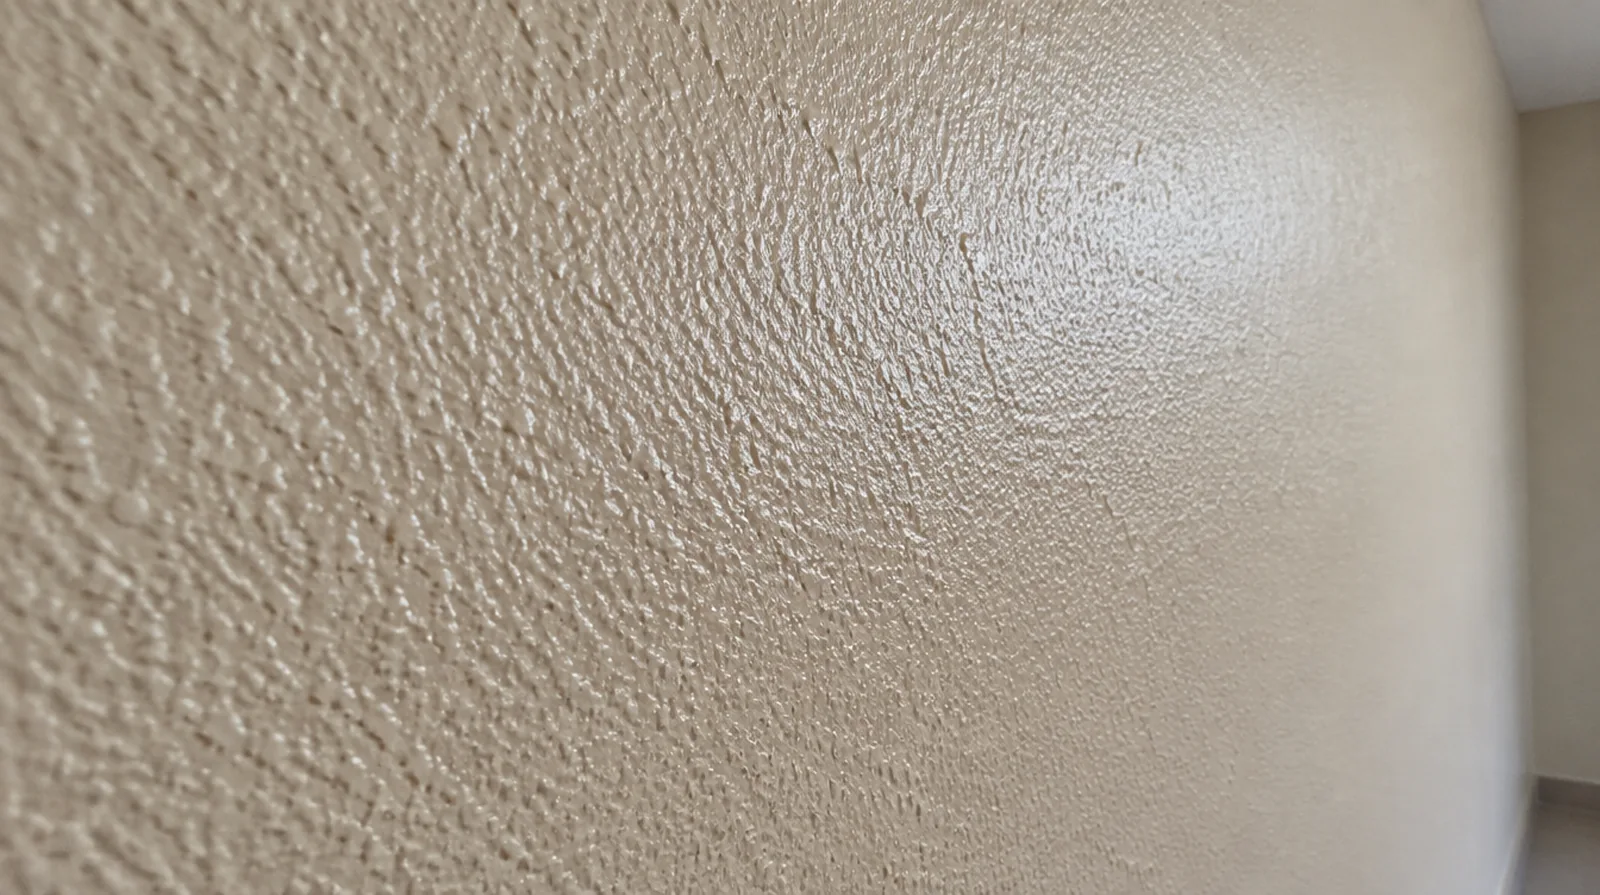
Blend beyond the patch
A sharp rectangular transition can expose the repair even when the new pattern is otherwise similar. Gradually extending the texture into the surrounding surface may make the blend less abrupt. When the decorative coating has been selected, tell the finisher its intended sheen and color while the preparation of the surface standard is still being agreed.
Judge from normal positions
Assess the dried texture from everyday viewpoints instead of judging only a close view of a wet sample. The planned paint sheen and oblique light both belong in the final appearance discussion. If the current finish is unusual, keep a small reference sample or a close photograph to support the discussion about blending and restoration.
Protect surrounding finishes
Mask adjacent materials against sprayed compound and other application debris. Protect the full reach of the operation, including fittings and trim beyond the original damaged spot. If the project is part of a larger remodel, settle the sequence with flooring, trim and cabinet work before setting a final finishing date.
Identify the existing pattern
First determine how the current texture creates its pattern and relief. The existing wall should be examined in the actual room lighting before selecting a matching method. Where occupants have dust sensitivity concerns, agree containment and cleaning measures before settling the way the space will be staged.
Set realistic blend expectations
Age, paint buildup and irregular original application can limit how closely a patch can blend. If local matching remains obvious, discuss whether a wider surface treatment would be preferable. If the final paint is already chosen, share its sheen and color early because those choices influence how surface preparation is judged.
Use appropriate primer
New texture and adjacent painted material can absorb finish coats at different rates. A suitable primer helps the paint system perform consistently without changing the texture profile unnecessarily. For a repair that crosses several surfaces, measure the affected planes separately so the estimate can explain where each finishing treatment starts and stops.
Study the paint layers
Repeated painting can soften an old pattern and change how its peaks reflect light. A fresh application might need adjustment to resemble the current surface rather than the original texture recipe. When the decorative coating has been selected, tell the finisher its intended sheen and color while the preparation of the surface standard is still being agreed.
Prepare a sample area
Use a limited trial to compare the scale, distribution and flattening of the proposed finish. Approve the sample before extending the treatment across the entire repaired area. Where a neat final edge matters, agree whether the finish ends against existing trim or whether that trim will be removed and replaced.
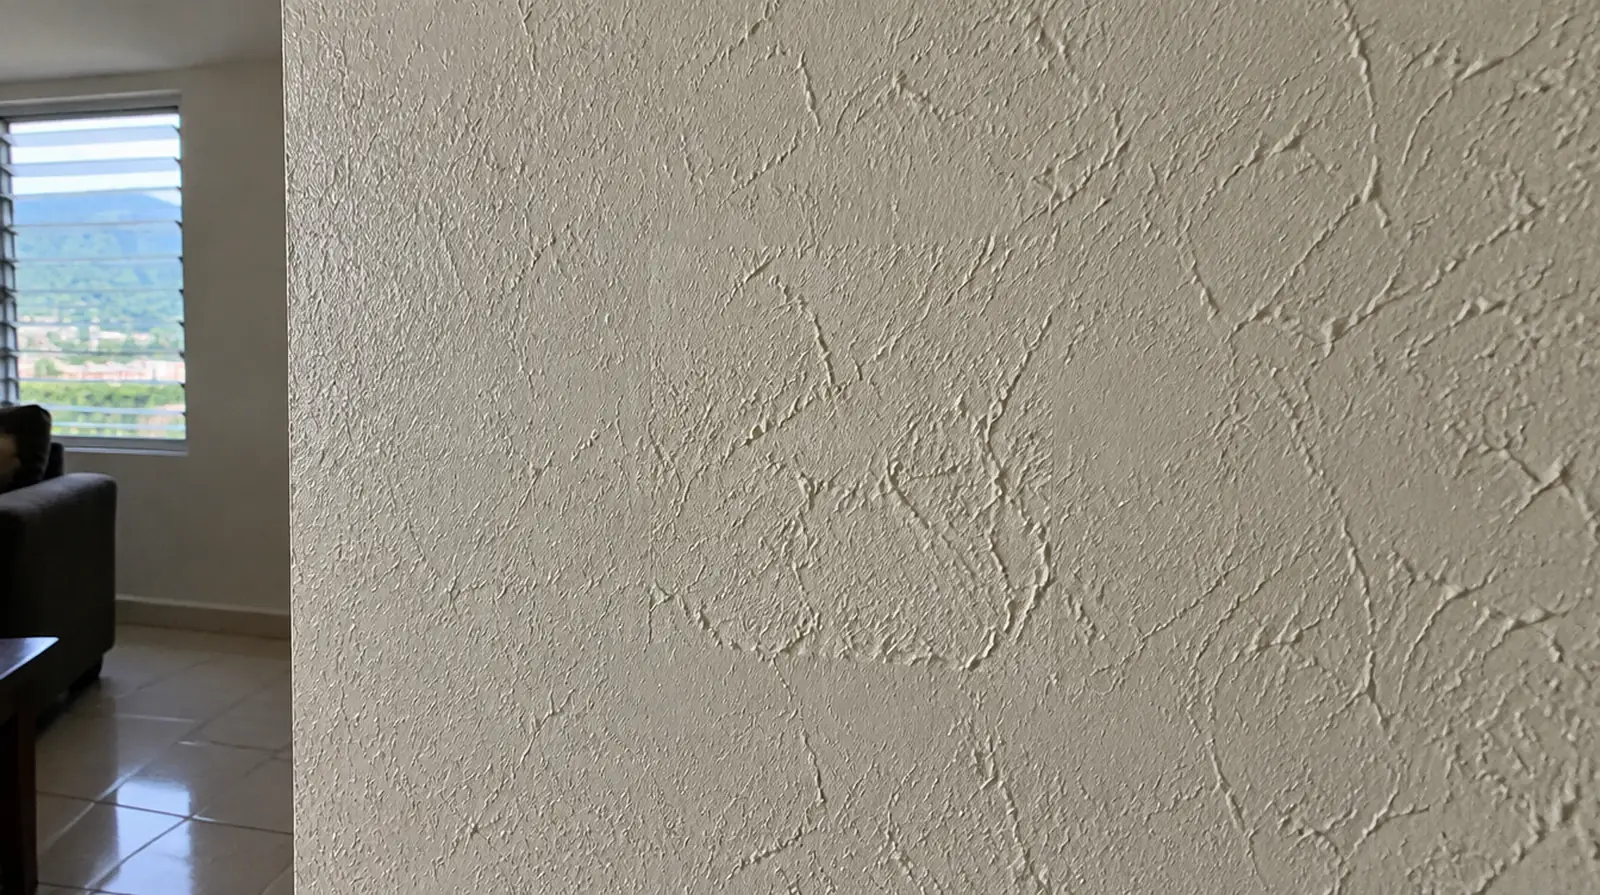
Check the underlying repair
A decorative pattern will not reliably disguise a ridge or an uneven board joint underneath it. The base repair should be flat and firmly bonded before a decorative pattern is added. For a distinctive existing pattern, retain a reference sample or detailed picture to make the matching discussion more specific.
Control application conditions
Spray settings, material consistency and working distance all influence the resulting texture. A knockdown pass also depends on when the applied material reaches the right condition in that room. At the handover inspection, review the finish from ordinary room positions using the lighting conditions that were agreed for the work.
Project context in Caguas
Describe any recurring discoloration or changes around joints instead of treating the visible mark as the entire problem. Warm humid weather can affect both material storage and the interval between finishing coats, so leave those practical questions in the schedule.
Scope questions before finishing
For an older repair with no clear history, describe when the mark first appeared and whether it has changed through more than one season.
In a room with little free floor space, identify temporary storage for belongings and establish sufficient clearance for the work before delivery.
Where light reflects along the wall surface, inspect the complete plane instead of limiting the review to the edge immediately next to the repaired section.
Where occupants have dust sensitivity concerns, agree containment and cleaning measures before settling the way the room will be staged.
At a ceiling or wall containing fittings, assign removal and reinstatement duties for the affected devices before repair access is needed.
Where a neat final edge matters, agree whether the finish ends against existing trim or whether that trim will be removed and replaced.
When damage followed other building work, describe the nearby alterations and the sequence between those changes and the first visible defect.
For a room with restricted airflow, plan drying conditions alongside dust protection and the comfort of people occupying neighboring spaces.
Where a surface has been painted many times, consider whether differences in texture or sheen will require a wider decorative treatment.
For an initial assessment from pictures, provide an overall room photograph and a detailed view of the defect so both context and scale are apparent.
For a planned new wall mounted fixture, resolve its backing requirements while the cavity remains open instead of cutting into completed drywall later.
Where several contractors share the renovation, identify the inspection and handover milestones that determine when each following stage can proceed.
Explore the Caguas drywall overview for related options, or read the project planning information before arranging the next stage.
More planning details for Caguas
For Caguas refurbishment work, a wall beside a cooled interior space is worth assessing with its moisture history in mind. Replacement board should close a cavity only after the relevant underlying conditions have been addressed. Work out the panel delivery route and the clearance needed around furnishings before the room is protected.