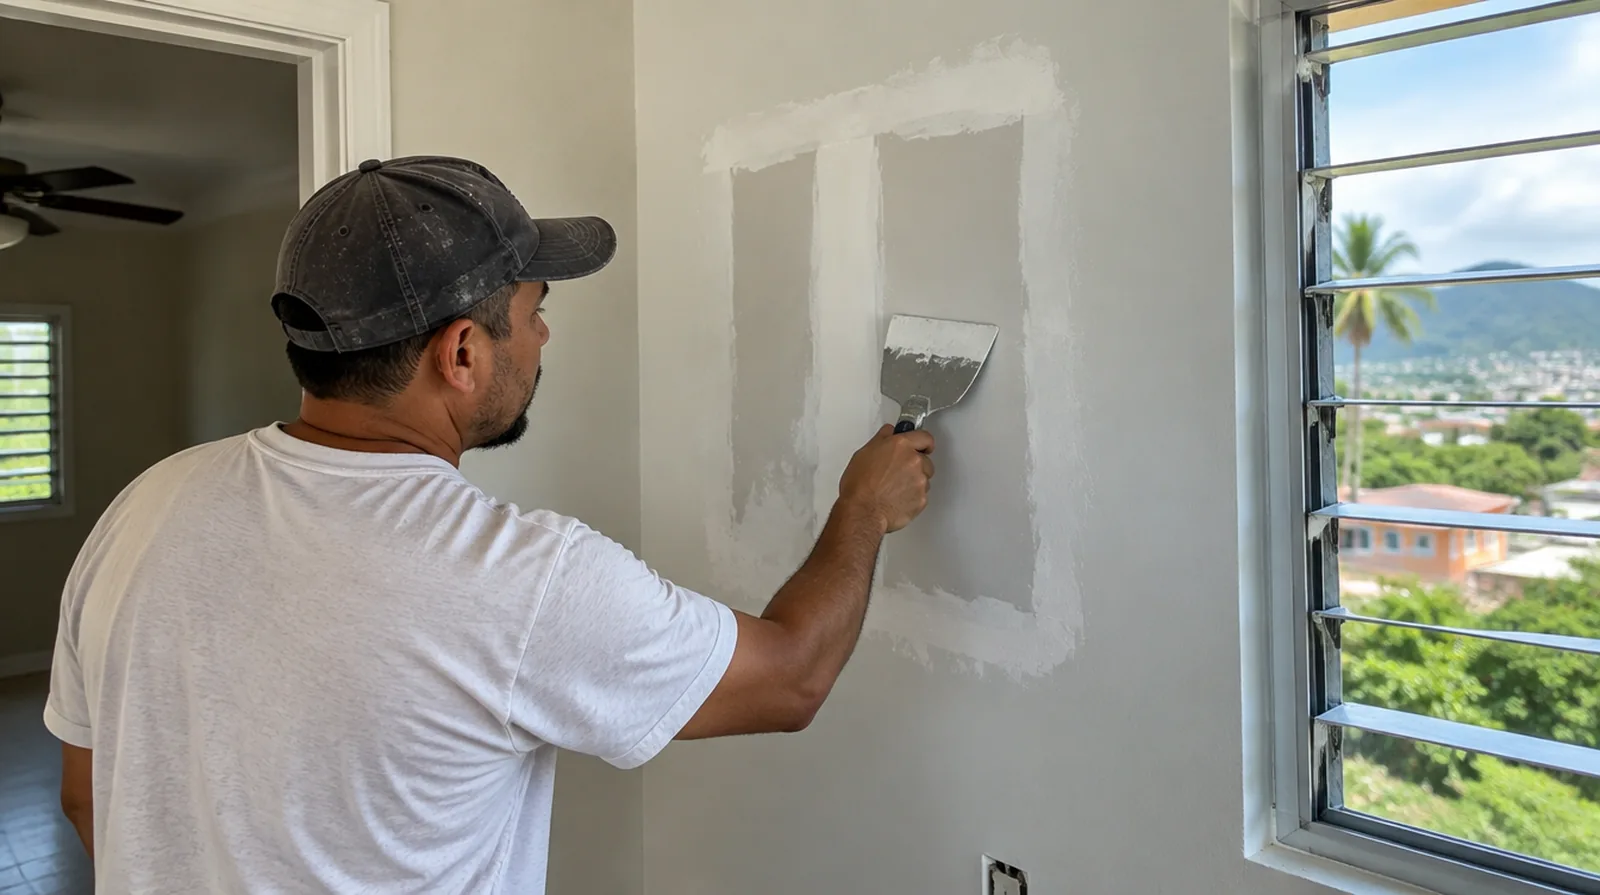
Support the replacement
Larger openings need a fitted board patch secured to framing or suitable backing rather than a thick mound of compound. The replacement board thickness should match the existing face so the joint can finish level. For work spread across distinct planes, record their dimensions separately and describe the boundary of the treatment on each surface.
Review with side lighting
Use an angled view as well as a direct view when reviewing a finished patch. Window light may reveal a contour that ordinary room lighting hides, while coating sheen creates an independent issue. If the wall work belongs to a broader renovation, coordinate its order with flooring, cabinetry and trim instead of scheduling finishing in isolation.
Prepare for primer
Fresh compound and existing painted drywall absorb coatings differently unless the repair receives suitable primer. Establish whether suitable primer is part of the repair or will be applied by another contractor. For a room with restricted airflow, plan drying conditions alongside dust protection and the comfort of people occupying neighboring spaces.
Handle small fastener marks
A visible screw or nail bump can indicate movement between the board and its supporting framing. Adding suitable fastening nearby may be necessary before the damaged spot receives finishing compound. If a household member is sensitive to dust, discuss containment and cleaning expectations before choosing how to stage the room work.
Build thin finishing coats
Shaping a repair through thinner coats gives more control than depositing all the material at once. Each layer needs sufficient drying interval before the next pass can be judged accurately. If the original finish is unusual, keep a small reference sample or a close photograph to support the discussion about blending and restoration.
Reinforce panel seams
Joint tape bridges the transition between the original wall and a replacement section. The tape belongs in a compatible bedding coat without trapped air or dry unbonded edges. For a surface that will receive wall covering, share the product requirements early so the finishing stage supports the planned decorative treatment.
Set the paint boundary
An old paint coating may not accept an inconspicuous local touch up even after a flat repair. Consider a corner to corner decorative boundary when color or sheen differences would otherwise remain noticeable. For a planned new wall mounted fixture, resolve its backing requirements while the cavity remains open instead of cutting into completed drywall later.
Choose the patch boundary
Loose paper and crumbling gypsum must be removed until the surrounding panel can support a durable repair. A tidy rectangular cut often provides stronger backing than following an irregular broken edge. If the space will remain occupied, identify a workable separation between the project space and the space that still needs daily access.
Identify the cause
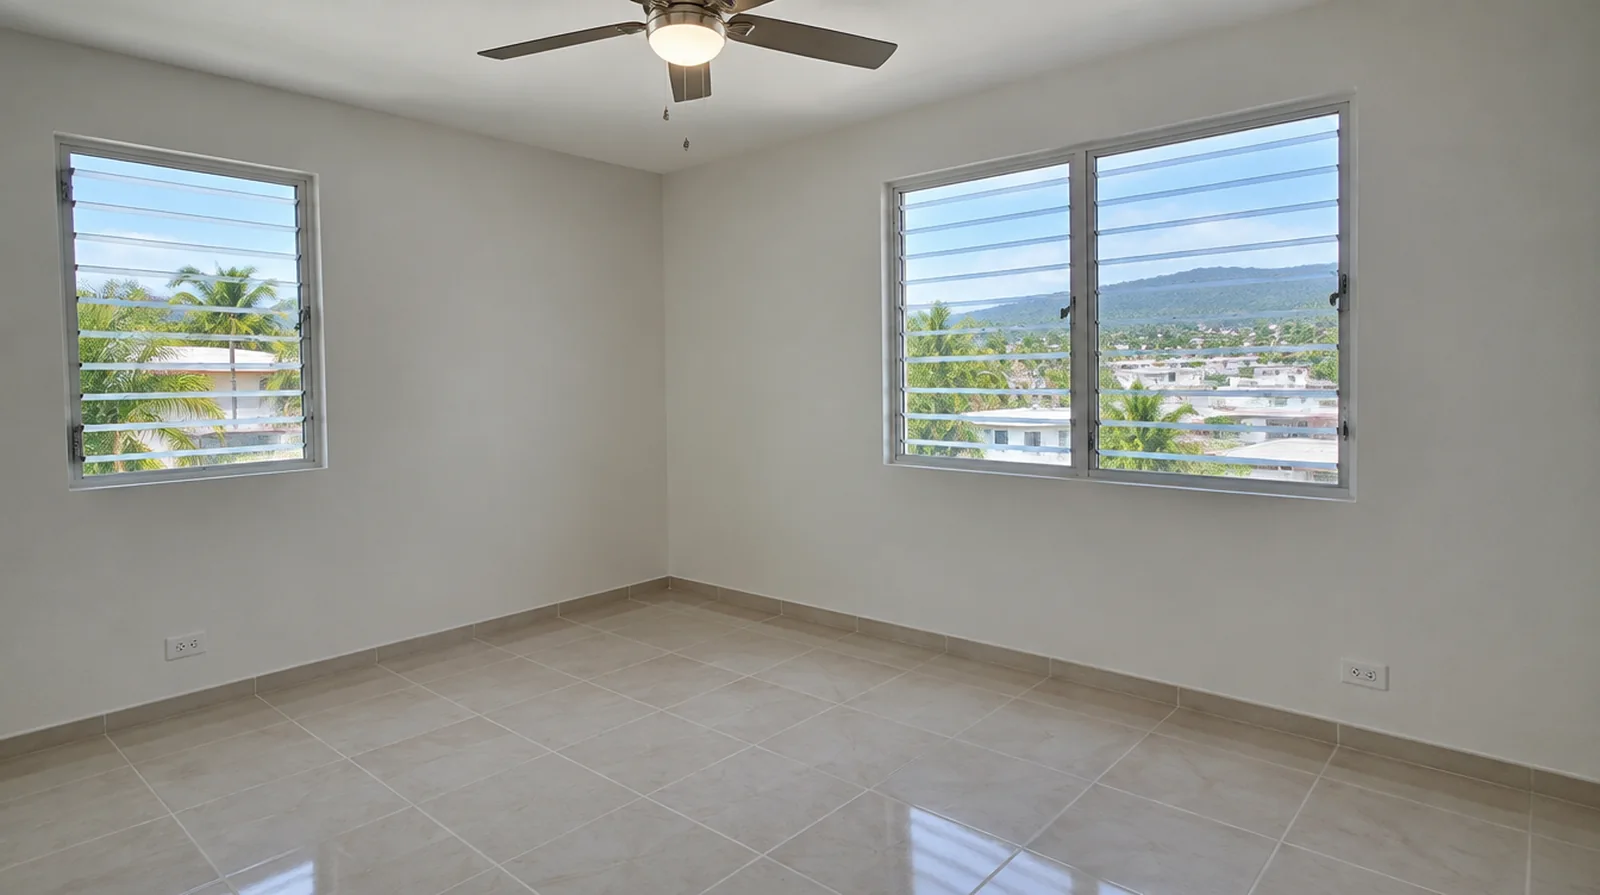
Damage from an impact is not assessed in the same way as a seam that keeps splitting at a door opening. Describe any change in the defect and check whether the surrounding board is still stable. If a separate painter completes decoration, agree the condition of the handed over surface and assign responsibility for small final corrections.
Protect adjacent surfaces
Small wall repairs can still distribute fine dust through the room if protection is inadequate. The work plan should identify what needs moving and which room can remain in use. For an older repair with no clear history, describe when the mark first appeared and whether it has changed through more than one season.
Project context in Caguas
Work out the panel delivery route and the clearance needed around furnishings before the room is protected. Describe any recurring discoloration or changes around joints instead of treating the visible mark as the entire problem.
Scope questions before finishing
At a repair beside an opening, allow clearance for moving board through the doorway and space to use the finishing tools effectively.
For an initial assessment from pictures, provide an overall room photograph and a detailed view of the defect so both context and scale are apparent.
Where a future fixture will be installed, coordinate any required backing while the cavity is accessible instead of reopening the completed wall.
When the protected room includes a doorway, check the clearance for panel movement as well as the amount of space available for finishing tools.
Where a neat final edge matters, agree whether the finish ends against existing trim or whether that trim will be removed and replaced.
If the coating stability is unclear, assess which layers are adequately bonded and which ought to be removed rather than simply hidden beneath new material.
Where existing floors will remain, specify protective measures and review the path used by panels, equipment and finishing tools.
When painting is outside the proposal, describe the remaining decorative preparation clearly so another contractor can price that stage accurately.
Where occupants have dust sensitivity concerns, agree containment and cleaning measures before settling the way the space will be staged.
At a surface receiving strong window light, review a dried trial from the side in addition to the normal straight view of the wall.
If a room has only limited ventilation, discuss how the finishing materials can dry without disrupting comfort or spreading dust elsewhere.
For a small repair with extensive setup, compare the total scope rather than assuming the price should follow the hole dimensions alone.
Explore the Caguas drywall overview for related options, or read the project planning information before arranging the next stage.
More planning details for Caguas
For Caguas refurbishment work, a wall beside a cooled interior space is worth assessing with its moisture history in mind. Replacement board should close a cavity only after the relevant underlying conditions have been addressed. Warm humid weather can affect both material storage and the interval between finishing coats, so leave those practical questions in the schedule.